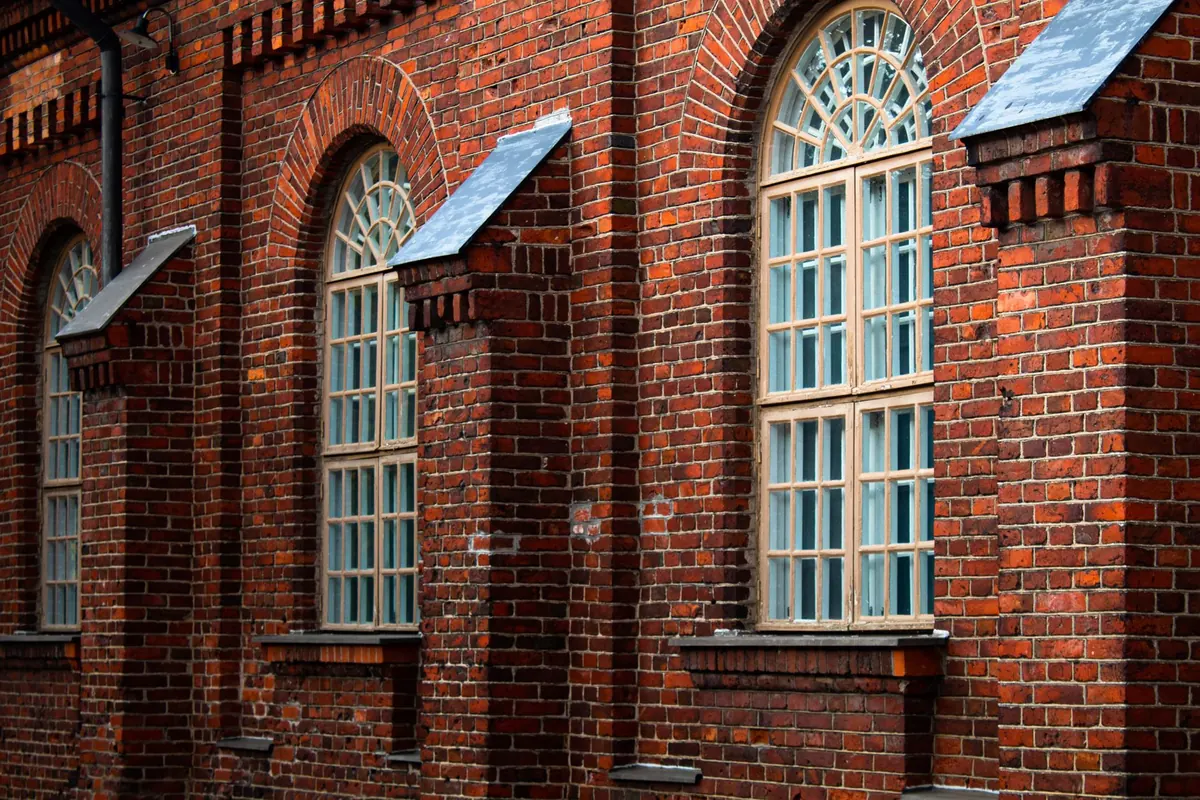
An arched window above a front door looks as though it was always meant to be there. Behind that calm result sits a chain of small decisions: measurements taken at the right points, a template that matches the wall rather than the drawing, and a workshop that knows exactly what curve to build. Odd openings are unforgiving. A rectangular window can be shimmed and trimmed into submission; a circle cannot.
The reassuring part is that custom shapes are routine work for window makers. Half-rounds, eyebrows, trapezoids, octagons, angled corner units — these come through the workshop every week. What separates a clean installation from a painful one is almost always how the opening was measured and specified before anything was ordered.
Start With the Opening, Not the Catalogue
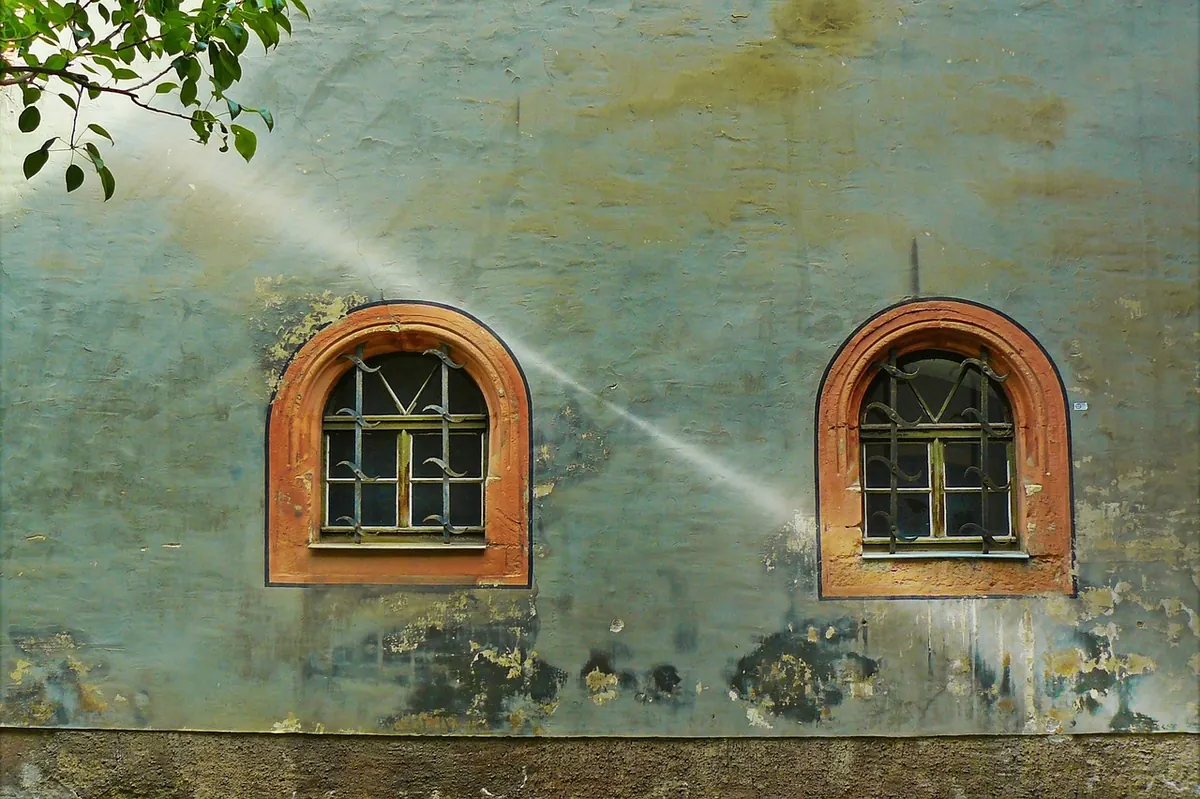
The vocabulary is worth learning early, because it saves a lot of back-and-forth. A half-round is a true semicircle. A segmental arch is any arc shallower than half a circle — the most common shape over doors and porches. The rise, sometimes called the sagitta, is the height of the arc measured up from the chord line. An eyebrow window is a very shallow segmental arch. Then there are full circles and oculi, quarter-rounds tucked into stairwells, pointed arches, trapezoids in gables, and angled units where two walls meet at something other than ninety degrees.
Before measuring, be clear about whether the opening is new or existing. In new construction, the opening should be built and its face finished — plaster, render or brickwork — before the final survey. Masonry moves as mortar cures, and a curved head built from a plywood pattern can settle a few millimetres out of true. In a renovation, the opening is what it is, and the window has to follow it, including the irregularities nobody expected.
It also helps to decide which face the frame aligns to. In a thick stone wall the window might sit well back from the exterior face, leaving a deep splayed reveal inside. That depth changes the frame dimensions, the fixing strategy and how the reveal is finished. None of it is difficult, but all of it is cheaper to decide on paper than on site.
Measuring an Opening That Refuses to Be a Rectangle
A single width and a single height is not a measurement of an arched opening; it is a guess with a number attached. Work through the opening methodically and write down everything, even the figures that look unremarkable.
- Sketch the shape roughly and mark clearly which side of the drawing faces outside.
- Measure the width at the bottom, at mid-height, and just below the springing line — the point where the straight jamb turns into the curve.
- Measure the height at the left, the centre and the right.
- Check plumb on both jambs and level across the head, and note the deviation rather than just "out".
- Check square by measuring both diagonals; a difference of a few millimetres tells you the opening is slightly racked.
- For an arch, record the chord (the full width across the base of the arc), the rise, and the height of the springing line above the sill. Three points define an arc, and this set lets the workshop redraw your curve rather than guess at it.
- For an angled opening, record the length of both legs and the angle between them in degrees. If a protractor is awkward in the space, use a sliding bevel, transfer the angle to paper, and send the paper.
- Photograph the opening with a tape measure visible in each shot, and note the date.
Laser measures are excellent for straight dimensions and close to useless for a curve; use them for the widths and heights, then fall back on a tape, a chalk line and a string for the arc. A useful trick: pin a nail at the centre point of the arc, run a string at the radius, and check whether the curve stays consistent across the opening. If it does, the workshop can build to a radius. If it wanders, you need a traced profile instead.
Make a Template, Every Time
For anything with a curve or a non-standard angle, cut a template. Three-millimetre MDF or hardboard works well in one piece if the opening is modest; otherwise use two overlapping pieces, taped and marked so they can be reassembled exactly. Cut slightly small, slide it into the opening, then scribe the true profile against the wall face. Mark "TOP", "OUTSIDE" and a datum line at the sill height. Send the original template to the workshop if you can, or at the very least photograph it flat with a ruler alongside for scale.
Turning a Shape Into a Specification
A sketch gets a conversation started; a specification gets a window built. When you approach a fabricator, arrive with a package rather than a question. The following is a sensible minimum:
- A dimensioned drawing with the shape redrawn from your on-site measurements, not traced from the original architect's plan.
- The template or a clear scaled photograph of it.
- Frame material and finish, plus the profile you want — rebate depth, sightline, chunky or slim.
- Whether the frame itself is curved, or rectangular with a shaped glazed opening. This single choice drives cost and lead time more than anything else.
- Glass specification: type, coating, tint, spacer, and whether glazing bars should be radial or vertical.
- How, or whether, the window opens. Many shaped windows are fixed; a shaped casement or hopper is a different engineering problem and should be raised at the start.
- Interior and exterior finishes: plaster return, timber reveal, blind pocket, sill detail.
The curved-frame versus shaped-opening decision deserves an early conversation. A bent frame follows the arch with a laminated timber head or a jig-formed aluminium profile, and it looks convincing from both sides. The alternative — a rectangular frame with a shaped glass panel and solid infill at the upper corners — is often more economical and can be perfectly good, but it reads differently from outside, especially in a brick facade where the arch is part of the street elevation. Ask to see how each is finished before committing.
Ask, too, what tolerance the workshop builds to and how much smaller the unit will be than your template. A window needs a gap all round for shims and insulation — a few millimetres on a small unit, more on a large one. Do not assume the figure; get it in writing.
Frames and Glass That Follow a Curve
Timber and timber-aluminium are the most accommodating for arches, because heads can be laminated and shaped to a drawn radius. uPVC shaped frames exist but tight radii are limited, so check with the fabricator before designing around one. Aluminium handles circles and tight curves well and takes a powder-coated finish in any colour.
Glass is where lead times grow. Curved glass is made to order, in a restricted range of thicknesses and coatings, and it is not quick. Plenty of segmental arches use flat glass cut to the shape instead, which for a shallow arch is visually convincing and much faster to source. For a full circle, curved glass usually wins. Where panes sit near a door, low to the floor, or large in area, safety glazing is normally required — the exact rules vary, so confirm what applies locally rather than assuming.
Thermal performance deserves a mention because curved units behave differently from flat ones. The perimeter seal does most of the work, and a shaped unit has more perimeter per square metre than a rectangle. Specify warm-edge spacers that can follow the curve, and ask how the corners are sealed.
Angles, Gables and Corners Without a Post
Trapezoids in gable ends and raked windows following a roof pitch are straightforward provided the angle is measured on site rather than taken from the drawing; roof pitches in particular are rarely exactly what the plan says. Angled bays at 135 degrees and corner windows with a welded or structural corner post need the same care, plus a conversation about how water leaves the junction. Angled head flashings, a defined fall on any exposed head, and a sill that projects enough to throw water clear are not details to improvise later.
Installation: The Order Matters
Check the opening again the day the window arrives, and dry-fit before any sealant comes out. Sill pan first, then the unit, shimmed at the corners and at regular intervals along the head and jambs rather than just at the ends. Curved heads need bespoke flashing — folded, with end dams — because an off-the-shelf profile will not follow the arc. Insulate the gap with backer rod before the sealant joint, never sealant alone. Inside, a plaster return or a curved timber reveal cut from the same template finishes the job far more cleanly than a flexible filler ever will.
Before You Order: A Short Checklist
Confirm the opening is finished and stable. Confirm the arc is a consistent radius or that you have a traced profile. Confirm the template is marked with top, outside and a datum. Confirm the fabricator knows whether the frame is curved or the glazing is shaped, and that you have agreed on the gap allowance. Then keep one copy of every dimension and photograph filed away — if a question arises during installation, that folder settles it faster than any argument on site.
Photo: Paul G / Pexels